How Do You Properly Install and Maintain Sports Camera Mounts?
Essential Guide to Sports Camera Mount Installation and Care
Sports camera mounts have revolutionized the way we capture action-packed moments in athletics, outdoor adventures, and recreational activities. Whether you're a professional athlete documenting your training sessions or an adventure enthusiast wanting to share your experiences, proper installation and maintenance of sports camera mounts are crucial for capturing steady, high-quality footage. This comprehensive guide will walk you through everything you need to know about setting up and caring for your camera mounting equipment.
Understanding Different Types of Sports Camera Mounts
Body-Worn Camera Mounts
Body-worn sports camera mounts include chest harnesses, head straps, and helmet mounts. These attachments are designed to provide first-person perspective shots while keeping your hands free during activities. Chest harnesses offer stable footage for activities like hiking, mountain biking, and skiing, while head mounts capture exactly what you're seeing. Helmet mounts are particularly popular among cyclists and motorsport enthusiasts, providing a higher vantage point and increased stability.
Equipment and Gear Mounts
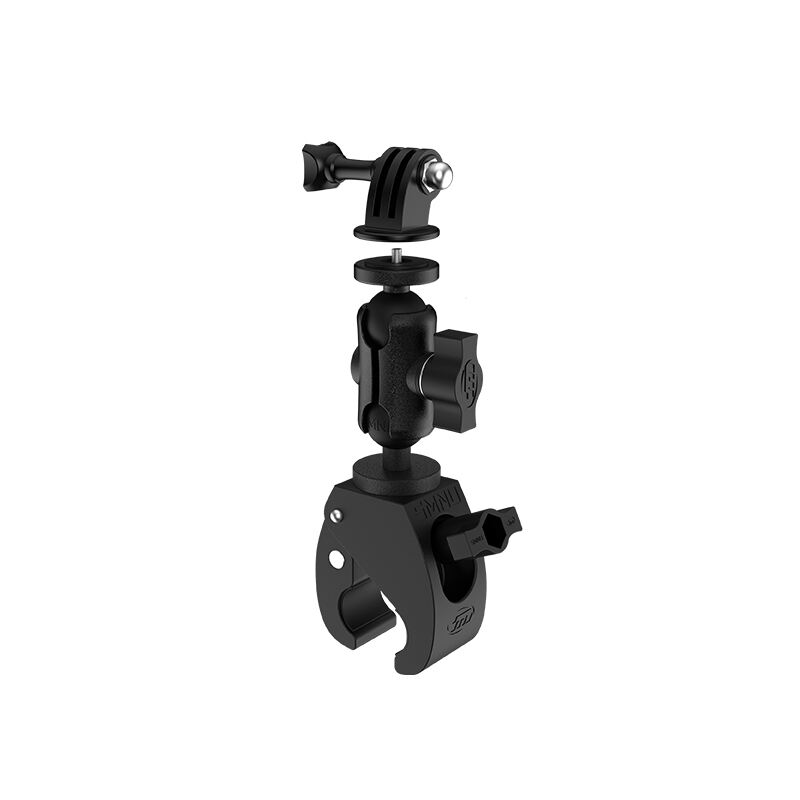
Equipment-based sports camera mounts attach to various pieces of gear such as bikes, surfboards, or sporting equipment. These mounts typically use strong adhesive pads or clamp systems to ensure secure attachment. Handlebar mounts are common for cycling, while suction cup mounts work well on smooth surfaces like surfboards or car exteriors. Roll bars and pole mounts offer versatility for different sporting applications.
Specialized Activity Mounts
Some sports camera mounts are specifically designed for particular activities. For instance, rotating mounts allow for capturing 360-degree footage during action sports, while waterproof mounts are essential for water-based activities. These specialized mounts often come with additional features like floatation devices or extended arms for unique shooting angles.

Professional Installation Techniques
Surface Preparation
Before installing sports camera mounts, proper surface preparation is essential. Clean the mounting surface thoroughly with alcohol-based cleaners to remove any dirt, oil, or residue. For adhesive mounts, ensure the surface is completely dry and at room temperature for optimal bonding. Rough surfaces may need slight sanding to create a better contact area for the mount.
Secure Mounting Methods
When attaching sports camera mounts, follow the manufacturer's torque specifications for any screws or clamps. Over-tightening can damage both the mount and the mounting surface, while under-tightening risks camera loss during activity. For adhesive mounts, apply firm, even pressure and allow the recommended curing time before use. Always use safety tethers as backup protection for your camera.
Position Optimization
Consider the angle and position of your sports camera mounts carefully. Test different positions while stationary to ensure you're capturing the desired perspective. Account for movement during your activity and how it might affect the camera's view. Many mounts offer adjustable arms or brackets - take time to find the perfect position before finalizing the installation.
Maintenance and Long-term Care
Regular Inspection Protocols
Develop a routine inspection schedule for your sports camera mounts. Check for signs of wear, loose components, or degrading adhesive before each use. Pay special attention to moving parts and connection points, as these are most susceptible to wear. Keep a log of when you installed each mount and when you perform maintenance checks.
Cleaning and Protection
Clean your sports camera mounts regularly, especially after exposure to harsh conditions. Remove salt residue after ocean use, and clear any mud or debris after outdoor activities. Apply appropriate lubricants to moving parts, but avoid getting any on adhesive surfaces. Store mounts in a dry place when not in use, and consider using protective covers for longer-term storage.
Replacement and Upgrades
Know when to replace your sports camera mounts rather than risk equipment failure. Most adhesive mounts should be replaced every few months of regular use, while mechanical mounts might need new parts or tightening. Stay informed about mount upgrades that could improve your recording experience or provide better stability.
Troubleshooting Common Issues
Stability Problems
When experiencing camera shake or unstable footage, first check all connection points and tighten any loose components. Vibration can often be reduced by adding rubber dampeners or using stabilizing accessories. If stability issues persist, consider reinforcing the mount with additional support points or upgrading to a more suitable mount for your activity.
Environmental Challenges
Different environments present unique challenges for sports camera mounts. In cold conditions, adhesive might become less effective, requiring additional security measures. Hot conditions can cause expansion of materials, necessitating regular checking of mount tightness. For wet environments, ensure all components are corrosion-resistant and properly sealed.
Frequently Asked Questions
How long do adhesive mounts typically last?
The lifespan of adhesive sports camera mounts varies depending on usage conditions and environment. Generally, with regular use, expect to replace adhesive mounts every 3-6 months. Factors like extreme temperatures, moisture exposure, and frequency of use can significantly impact adhesive longevity.
Can I use the same mount for different camera models?
While many sports camera mounts are designed with universal compatibility, always verify the specific mounting requirements for your camera model. Most major brands use standardized mounting patterns, but adapters may be necessary for optimal fit and security.
What should I do if my mount gets wet?
If your sports camera mount gets wet, thoroughly dry all components as soon as possible. For non-waterproof mounts, disassemble if necessary to ensure complete drying. Check for any signs of corrosion or water damage, and apply appropriate lubricant to moving parts once completely dry.

